Your WordPress installation will work absolutely fine with the default settings as they are, but if you want to change your homepage, choose whether someone can comment on your posts, or tweak the default URL for your posts, you can find all these options in WordPress settings.
It’s recommended you watch the video to get the best understanding of your options when it comes to WordPress settings, but if you prefer reading, you’ll still find most of the commonly changed settings covered below.
General Settings #
You can access general settings by hovering over Settings on the main WordPress menu on the left and selecting General.
Here you’ll find settings for the WordPress user interface language, time and date settings and more.
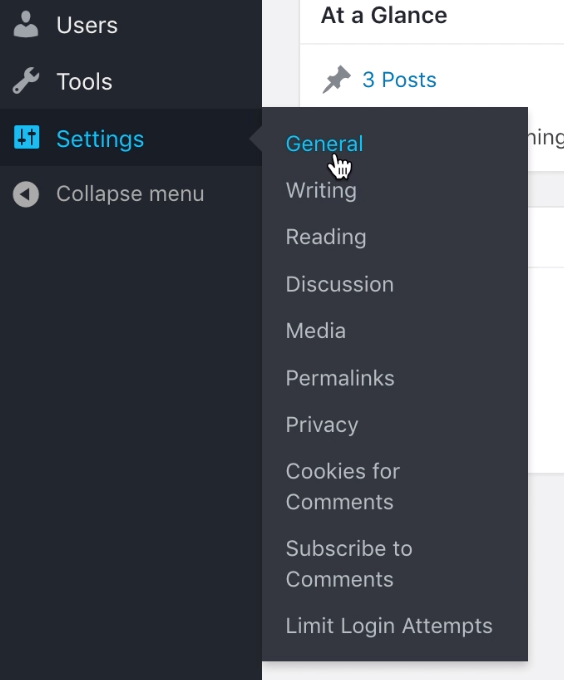
You may wish to change the default WordPress language from English to English UK or ensure your time and date are set to your local time so that your scheduled posts appear when you expect them to.
Anytime you make a change on any of the settings pages, you always need to click Save Changes at the bottom of the screen.
Writing Settings #
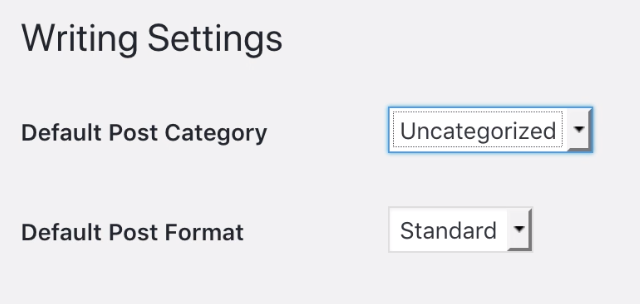
Here, you can change the way posts are automatically categorized as you write them. By default, all posts are marked as “Uncategorized”, but you could create a new category as a catch all, or set all new posts to be something like “Essays”, “Photos”, “Recent Work” or anything else depending on your needs.
There are also settings in this section which allow you to email a post directly to your WordPress site.
Reading Settings #
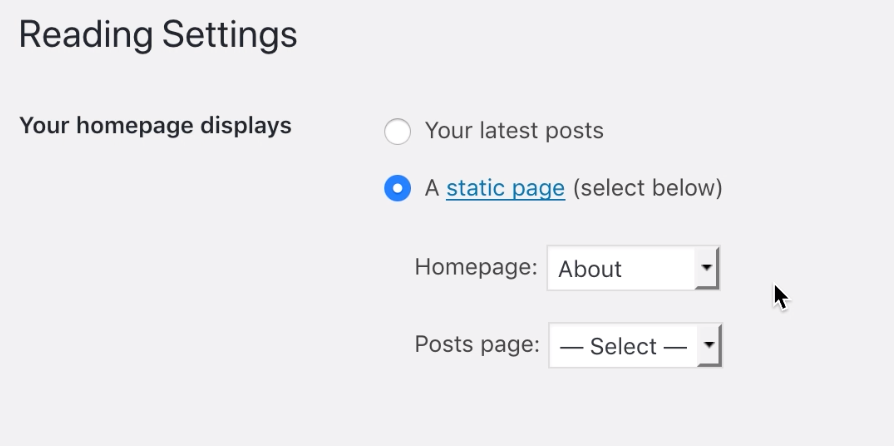
In this section, you can choose what visitors will see as your homepage when they come to your site. By default, WordPress will show visitors a list of your latest blog posts (typically one entire post after another).
You can change this to just show a summary of each post, limit the number of posts shown on your homepage, or even direct users to a page you’ve created instead.
To do this, change the homepage display settings to A static page and select one from the drop-down menu.
You can also decide whether you want people to find your page via a search engine by changing the Search Engine Visibility setting.

Discussion Settings #
This section is all about how readers interact with your site via commenting. You can decide who is allowed to comment on your blog, what criteria they have to meet, or whether to disable commenting on your blog altogether.
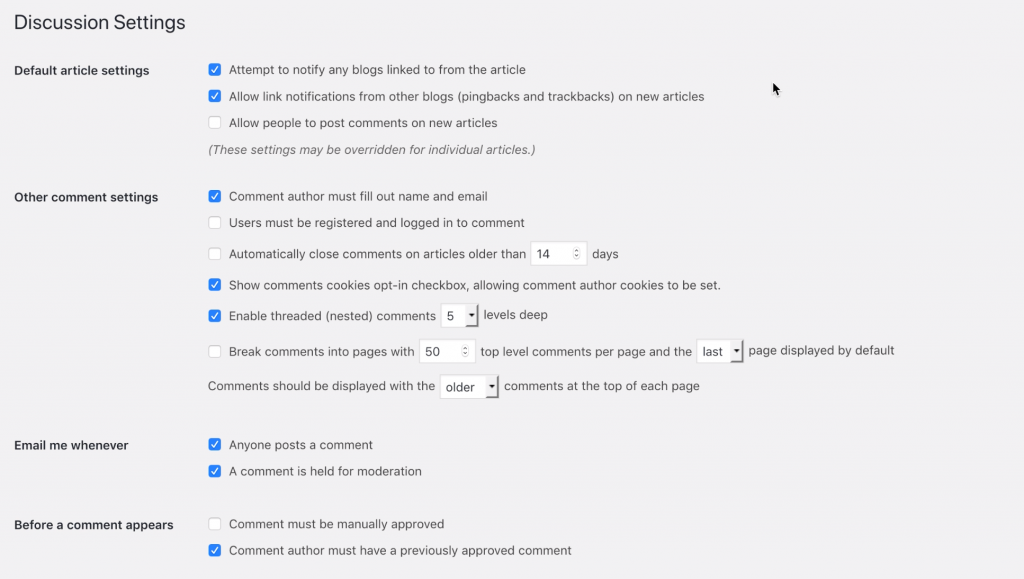
By default, comments are enabled, and all comments are held in moderation unless the author has had a previously approved comment.
It’s worth noting that if you deselect Allow people to post comments on new articles, any posts you’ve created before this will still have commenting enabled, and you can turn this on or off on a post by post basis.
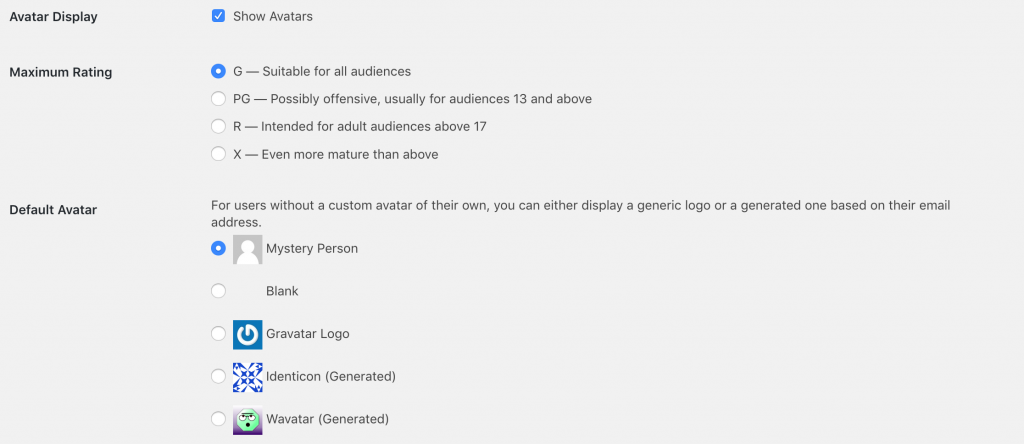
Depending on your theme, WordPress will also show an “Avatar” next to each person’s comment. You can choose whether to show avatars, what kind of avatars are appropriate and which Avatar system to use.
Permalink Settings #
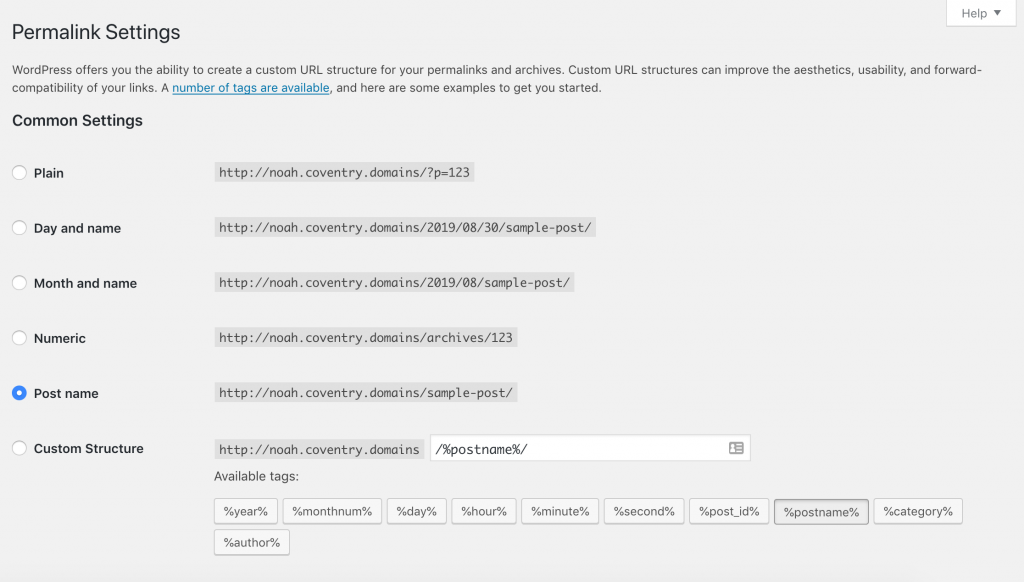
Whenever you create a new post, by default WordPress will create a URL based on your post’s category and its name, e.g. www.example.coventry.domains/News/New-Blog-Post
Here you can change this to simply show the post name or you can add more info like the post create time and date… even down to the second. For smaller sites, the default option or choosing Post name work well.
You can create a website without changing any of these default settings, but as you build more content and interact with your readers, it’s helpful to have a basic understanding of some of the more commonly changed WordPress settings.


