Now that you’ve activated your Coventry.Domains account, you’re ready to create your first WordPress site.
From the WordPress dashboard, click on the icon for Create and Manage Sites:
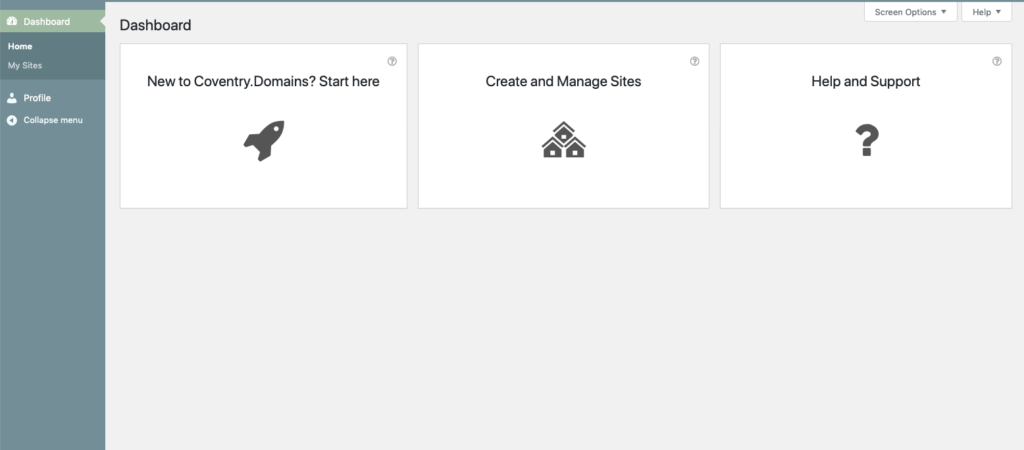
Here, you’ll see all sites your currently a part of. By joining Coventry.Domains, you’re already a user of the wp.coventry.domains website – congrats!
Now to make your site…
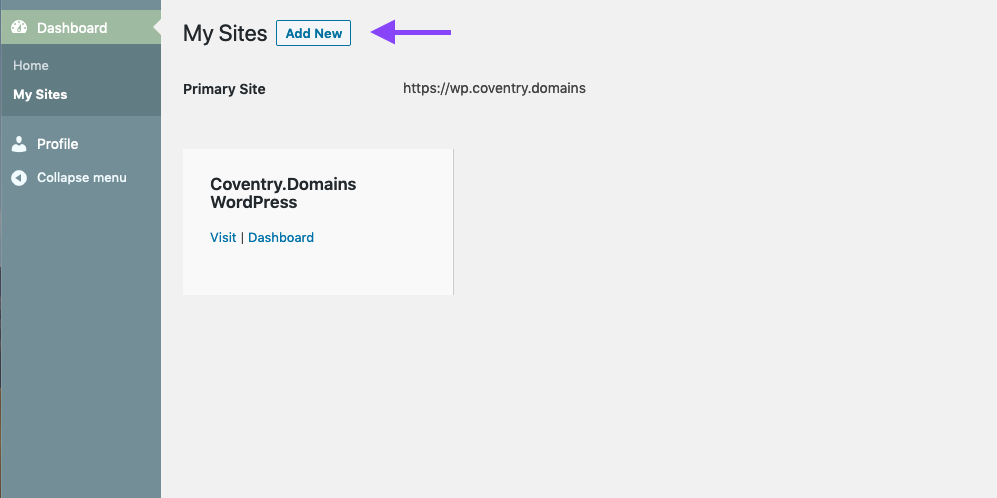
In the Create and Manage Sites section, click on the Add New button at the top of the screen:
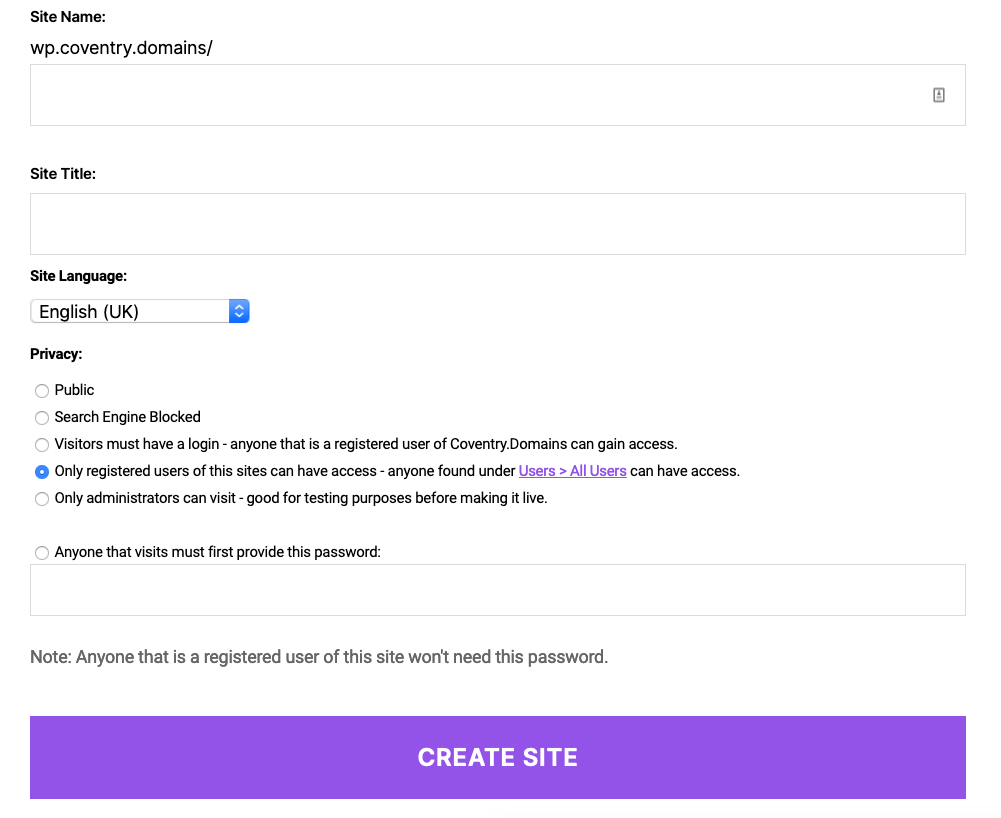
You’ll now be taken to a page where you can enter information for adding a new site to the Coventry.Domains WordPress system. Fill out the information, including what site name you’d like to use for this blog, portfolio or project website.
Choosing a name #
The Site Name is what will end up being your URL for visitors to access your site. You can pick anything here, but we’d recommend it’s a name which is relevant to you or your project. Whatever you pick will end up at the end of the wp.coventry.domains url, so if you pick “johnsmith”, your website URL will be “wp.coventry.domains/johnsmith”
The Site Title is the human-readable name of your site – the one you see at the top of the browser window, in the search results, or (with some themes) in the navigation area of your website.
Setting your privacy options #
By default, your site will be set to Only registered users – meaning people can’t see your content without you manually adding them to the site. We’d reccommend switching this to Public so anyone on the web can view your site, but it’s up to you.
We go into more detail on this in the Decide Who Will See You Site article.
Start building! #
You’re now ready to add posts and pages, change your theme and completely customise your site. For more information on this, check out the How to Use WordPress section of the support pages.


